Wrapping up
In the previous articles on document assembly 1, 2 and text fragments 1, 2 3 we explained the basics of document assembly. This article will show how the resulting document is finished.
Finishing the buyer and seller
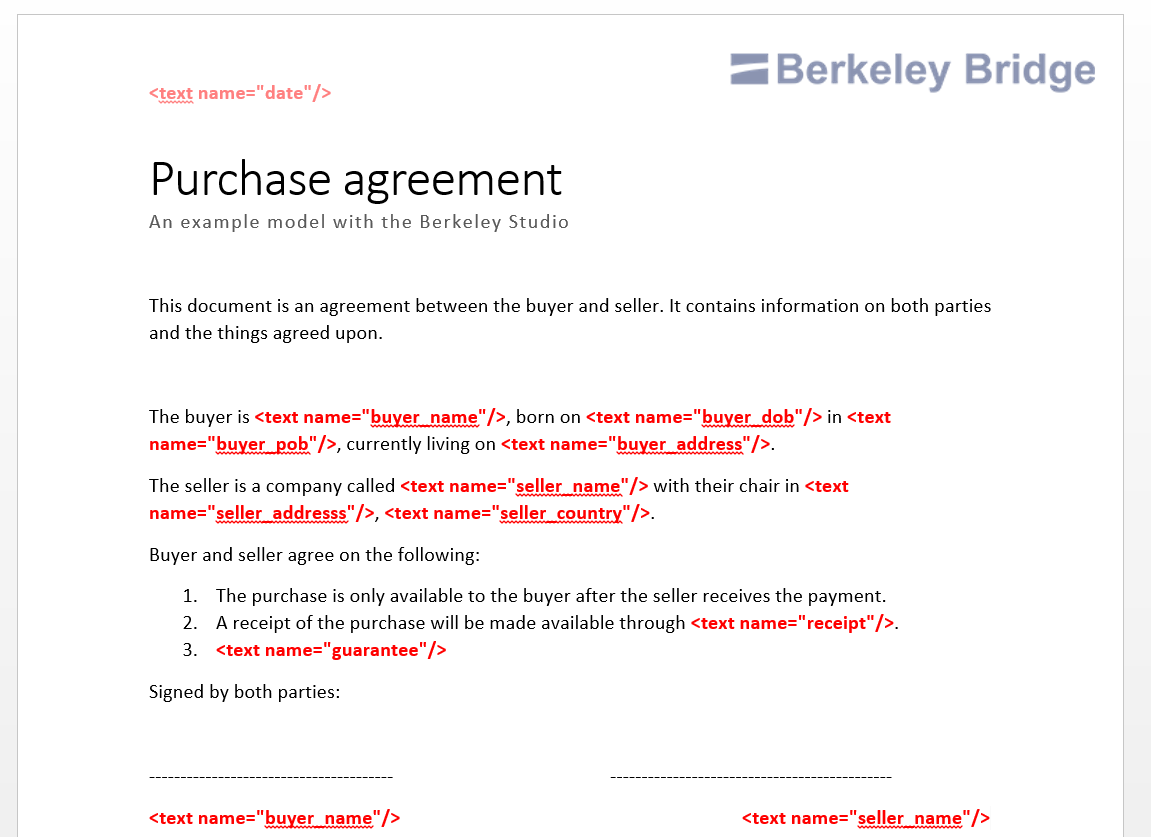
First of all, we will finish the information about the buyer and seller. To do so, we will add a text fragment for each question. Next, put all text fragments into the template so that the codes appear like the next image. Last, make sure that you add the names for the buyer and seller for the signing of the document. You already have these names, so you can just use the same text fragments!

Adding the agreements
There are two agreements: one for the receipt and one possible agreement for the guarantee.
We already added the guarantee agreement in the article on conditions, but we need to add the receipt one.
We can just put the question in a text fragment, but this will leave us with capitals (‘Post’ instead of ‘post’).
To prevent this, we can use two text fragments with the same name.
Both will be called ‘receipt’ and we will make both in the node text fragments.
One text fragment will be made when the user chooses ‘Post’ and one will be made for ‘E-mail’. The text block of the fragments will be “post” and “e-mail”. An example is shown for the “post”.

Now we add another text fragment for the e-mail option.
The action window for the text fragments node now will look as seen below.

Adding the date to the template
In order to add the current date to the template, we need to do three things.
The first, shown below, is adding a formula to the node text fragments that calculates the current date.
If you don’t know how to do this, take a look at formulas and functions in the Guided Tour.

Now that we have the date, we can do the remaining two steps: creating a text fragment and putting it in the template.
Just like with questions, right-click the formula and choose ‘Copy this into a text fragment’.
Give the text fragment a name - we choose date - and put it into the Word template.
The template is almost finished!
Styling the document
In our example template, we made all text fragments bold and red for clarity purposes. The last step would therefore be to style the template, removing red and bold text. Furthermore, you could add more images, change the fonts and so on.
In some cases, you may want to use a style template. To do so, you can add a style template to your document whenever adding it. This will apply any styling from the template to your document!