Getting Started
Once the subversion client is installed and a subversion server is available, you can get started with the version management.
You can either start a new repository or hook on to an existing repository.
The source code of a model is located on the server in a so called ‘repository’. Generally the repository consists of three components, namely the trunk , branches (for added functionality or testing purposes) and tags (certain fixed points e.g. at the point of a delivery).
Once the repository has been created a model can be added. When you open the model, you can add it by selecting the option ‘Add’, provided the subversion client can be found.

Fill out the right repository at <name of project>. The client checks if the current folder has already been connected to this repository.
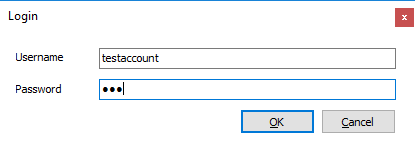
If that isn’t the case the following window will appear:

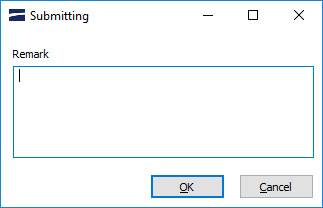
The administrator of the Subversion server can provide you with the credentials you need to check in a model. Possibly there are already models present in the trunk. Those models will be placed in the same folder as the model you are adding. Every new code you add to the server has to be accompanied by a text that explains what has been changed and what the goal of the changes was. By clicking ‘OK’ the model is placed in the trunk of the repository. On the saving of the model the Subversion client compares both versions.

The status of your working file and the file on the server is communicated in the menu. In this example the model is changed.

Use of an existing repository
There is no need for a model to be opened in the publisher to connect to an existing repository. Close any opened model File > Close. Now you can select a model via Subversion > Checkout.
First you select a folder where the models from the existing repository can be placed:

then you select the existing repository:

The publisher will indicate how many models have been entered in your local folder. It will open the first model it finds. The models can now be opened through File > open.